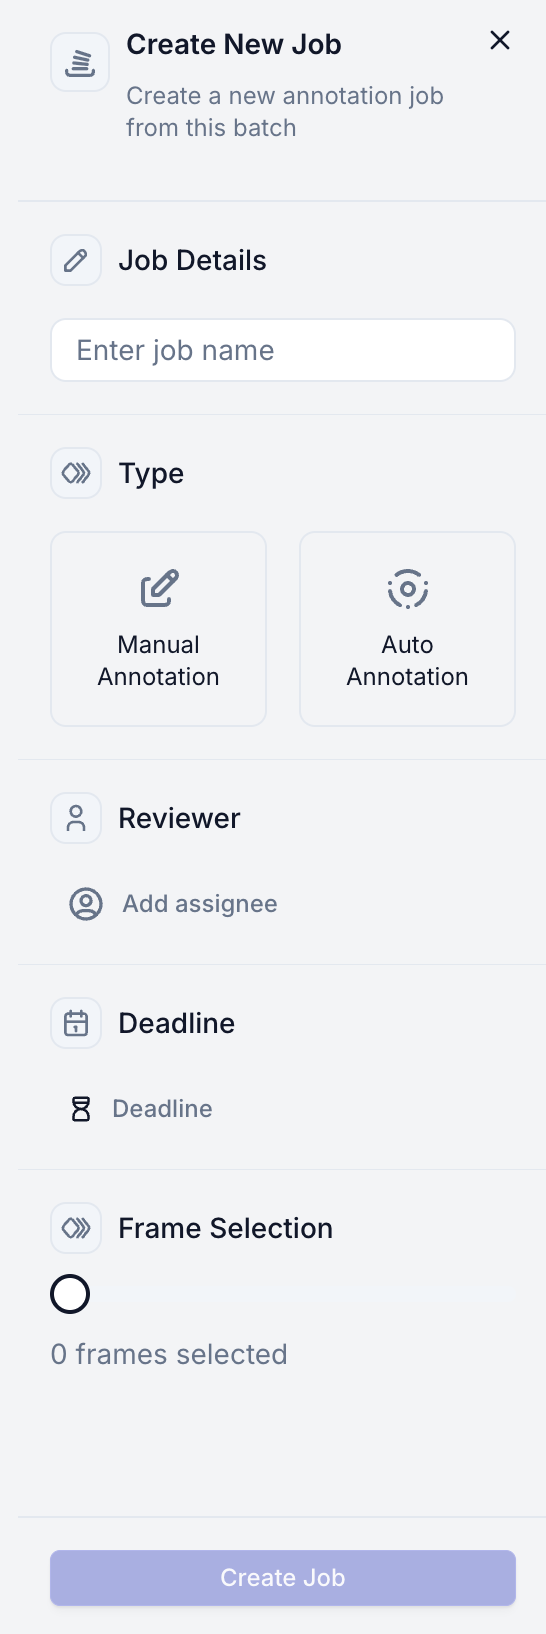
To create a new job from a batch, first click on any batch card on the kanban board. This will bring you to a details page that shows a preview of the frames in that batch.

In the top right corner, you will see a purple button that says “Create Job,” which brings up a right side panel:

You will be presented with a variety of fields to customize, including name, description, assignee, and number of frames to put in the job. An important choice to make here is whether you want this to be a completely auto-labelled job or a manual job.

If you select auto-label, the entire job will be labeled automatically by a model, and you will have the option to edit the annotations after auto-annotaiton is complete.

Autolabel Option

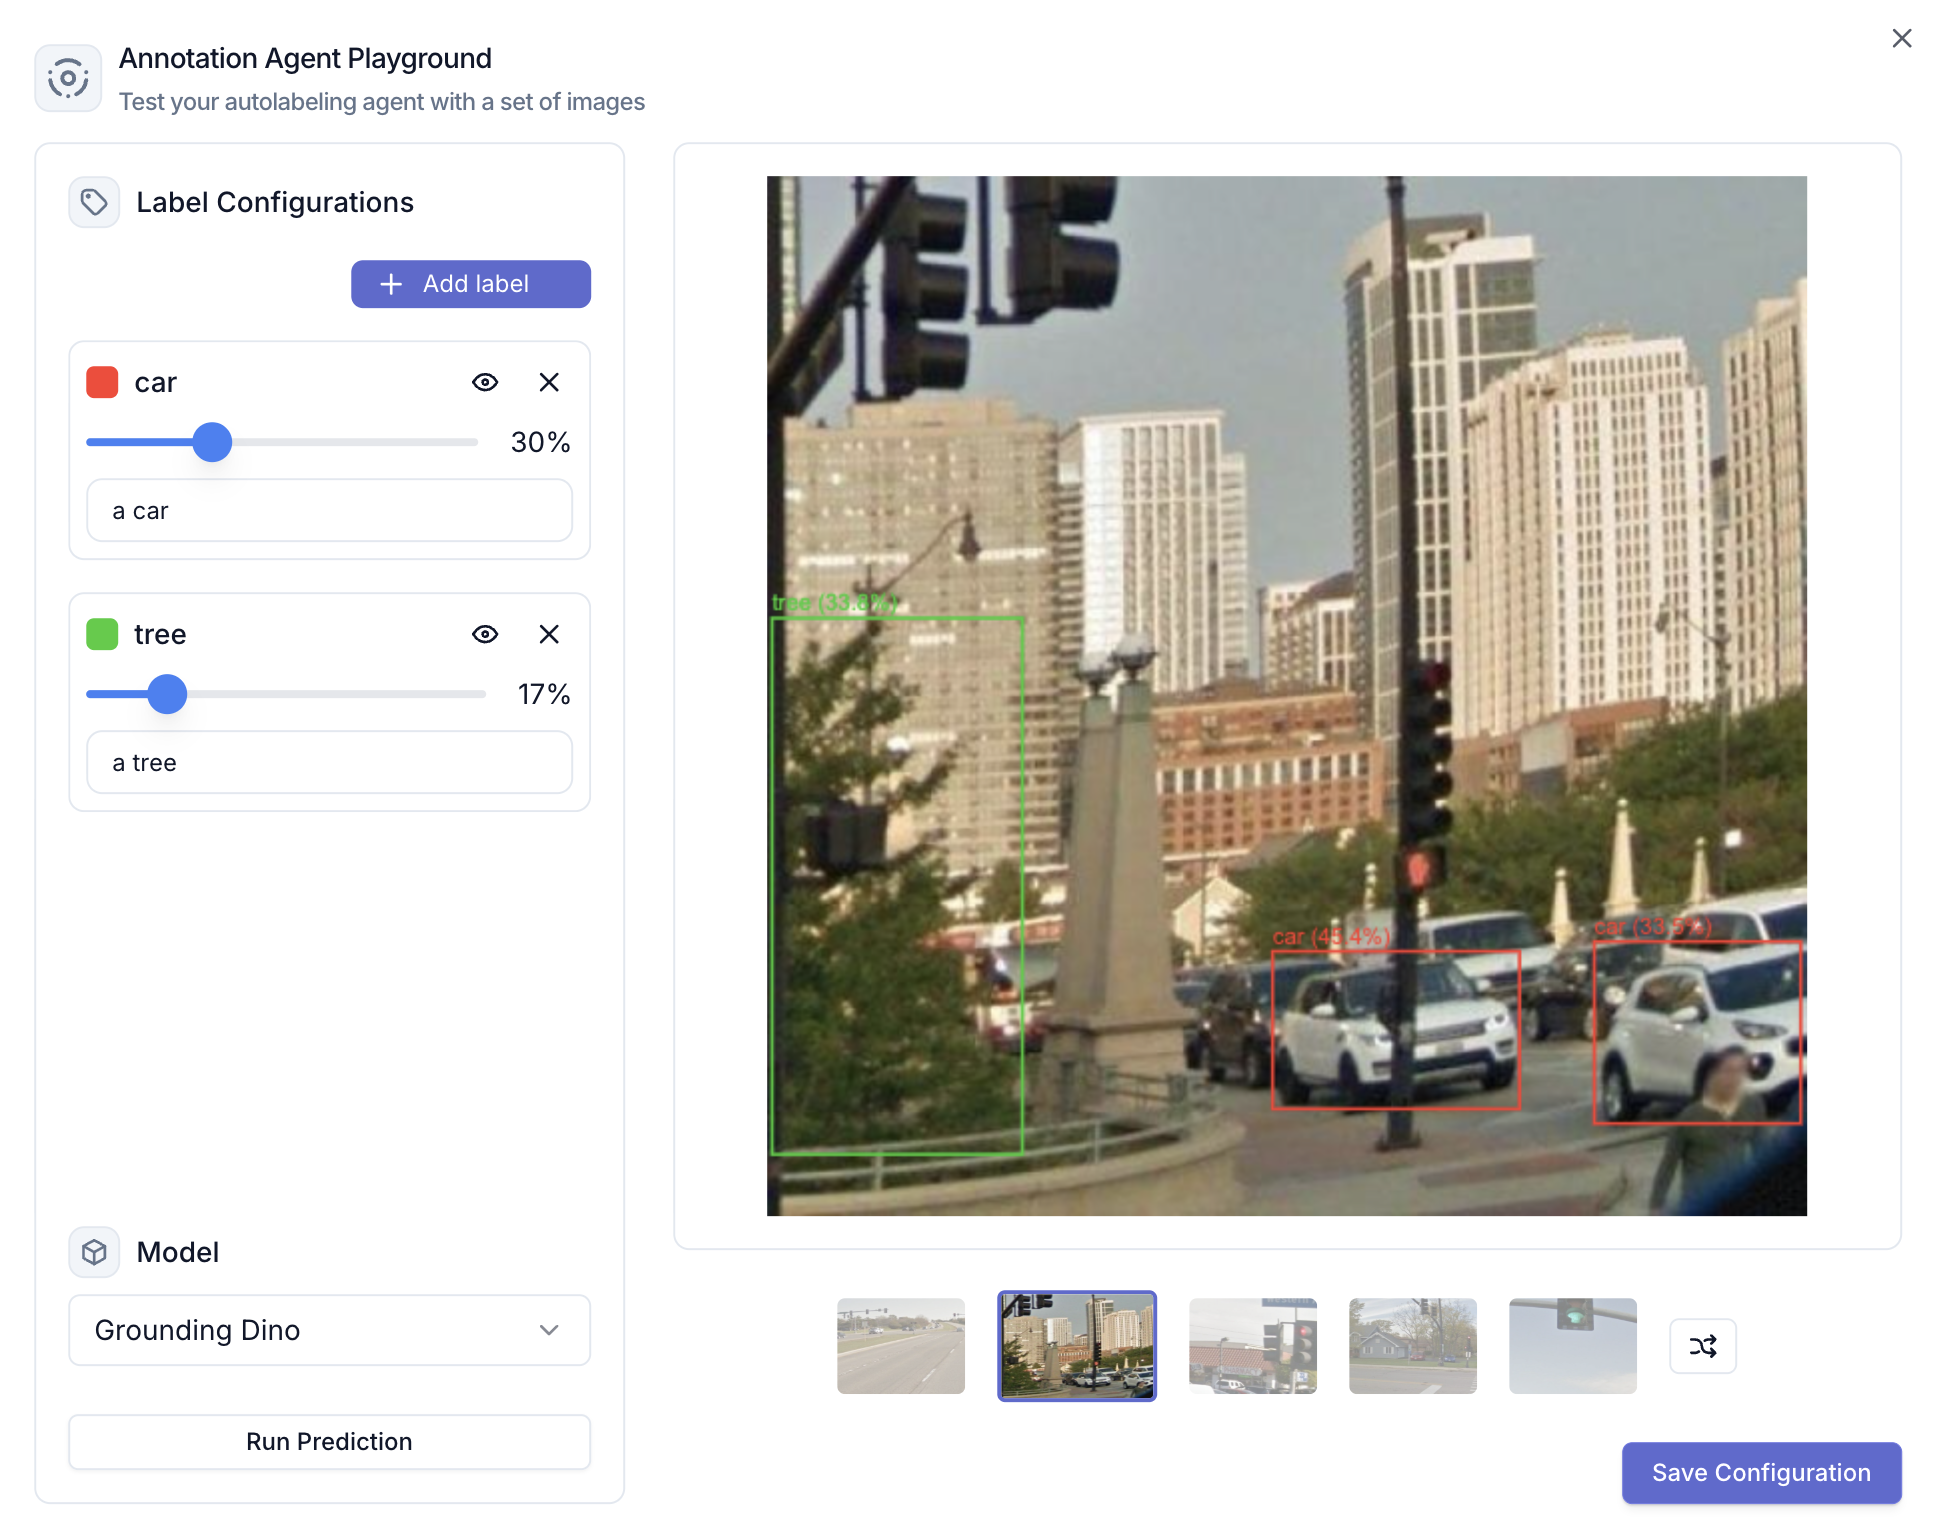
When you select this option, you will see a popup where you will have the option to adjust and decide on an optimal model configuration before kicking off the autolabelling process. You can:

  • Add labels that you wish to be used during the autolabelling process
  • Adjust the description for each label. It is recommended to always have something, even something simple, for the description, in order to help with model performance.
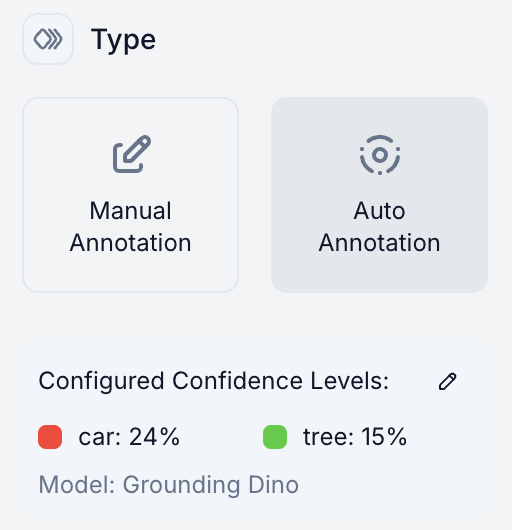
  • Adjust label confidnece levels before and after prediction, to find the optimal confidence level for each label

It is recommended to test out the model runs on multiple different images in the job (the reshuffle button will give you 5 new random iamges from the job to test with).

Once you have decided on an ideal configuration, you may save it and that configuration (labels, confidence levels, descriptions) will be used across all frames in the job during the autolabelling process.

Manual Option

If you select manual labelling, you will initially be able to make manual edits on the canvas, but still have the option to use model-assisted labelling using the auto-labelling agent on the canvas. See the Canvas Agent docs.bp