🚀 Quick-start Guide
New to Ocular Foundry’s model training capabilities? Follow this five-minute path to train and evaluate your first custom model. Once you are comfortable, circle back to the advanced pages for deep dives.1. Requirements
2. Open the Training tab
- Navigate to the Versions tab in a project.
- Select the version you wish to use to train the model
- Click on the Train in the right-hand corner of that version’s details page. You will see the following popup to configure and start a training run:
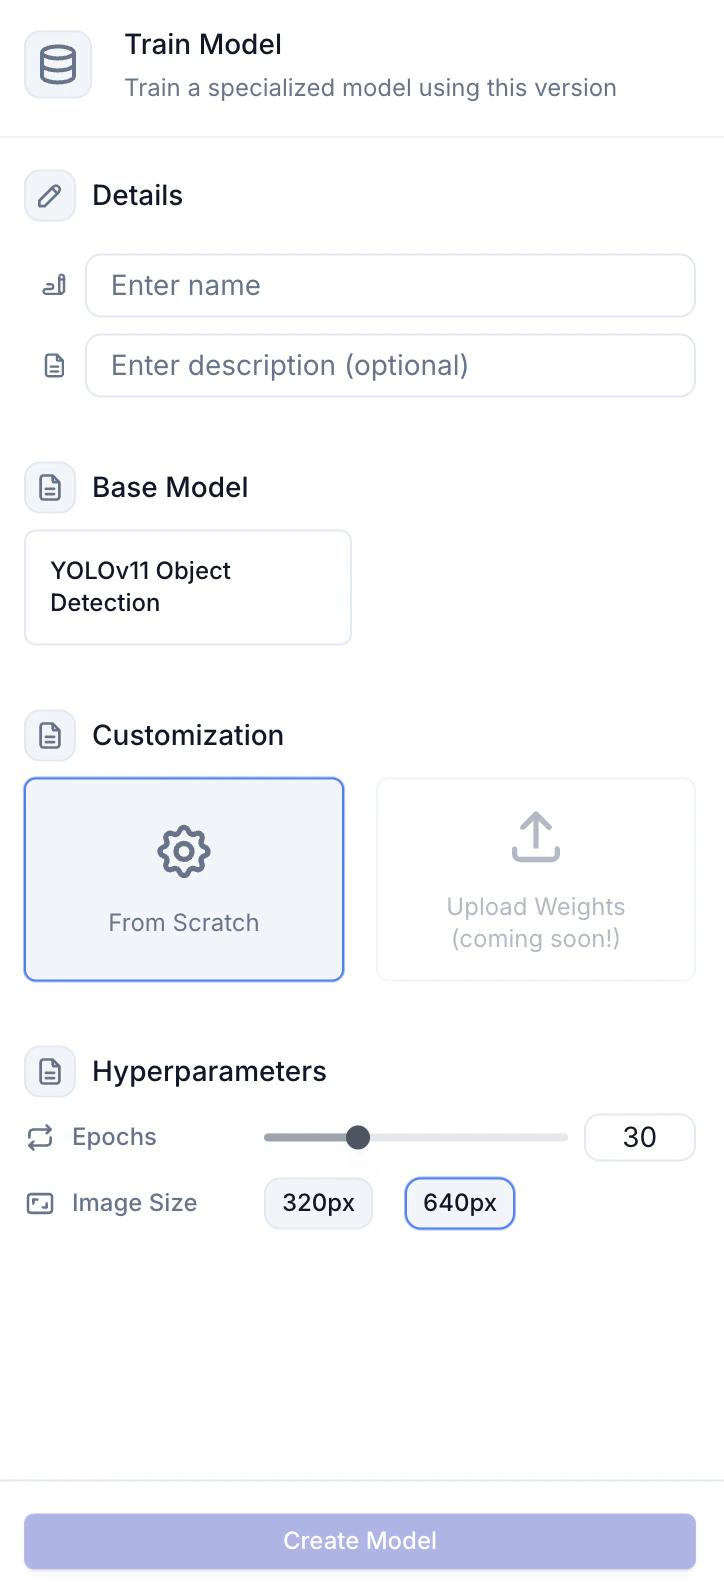
3. Adjust Configuration Settings
Choose the model type, model variant, number of epochs, and image size.4. Click Create Model
You will be redirected to the “Models” tab, where the run appears instantly in Model Training History with a processing 🔵 status. When the training run has completed, it will have a competed 🟢 status.5. Observe Performance Metrics
Performance Metrics and loss curves will be available on the model details page after the training run has completed 🟢 . You will see the precision, recall, and mAP metrics over epochs, the confusion matrix, and previews of validation set data, and more.That’s it — you now own a custom detector fine-tuned on your data.
- Fine-tune settings → Model Training
- Interpret metrics → Model Evaluation
- Programmatic workflows → Notebooks