> ## Documentation Index
> Fetch the complete documentation index at: https://docs.useocular.com/llms.txt
> Use this file to discover all available pages before exploring further.
# Setup Guide
> Create an account and learn about organizations and workspaces
# Getting Started with Ocular
This guide will walk you through the process of setting up your Ocular account and understanding how organizations and workspaces are structured.
## Creating Your Account
1. Visit [Ocular's Signup Page](https://foundry.useocular.com/signin)
2. If you don't have an account, click "Sign Up"
3. Complete your profile information
## Organizations and Workspaces Structure
Ocular uses a hierarchical structure:
* **Organizations** are the top-level containers that represent your company or team
* Each organization can have multiple **workspaces**
* Workspaces can contain multiple **projects**
```
Organization
├── Workspace 1
│ ├── Project A
│ └── Project B
└── Workspace 2
├── Project C
└── Project D
```
## Setting Up Your First Organization
After creating your account, you have two options:
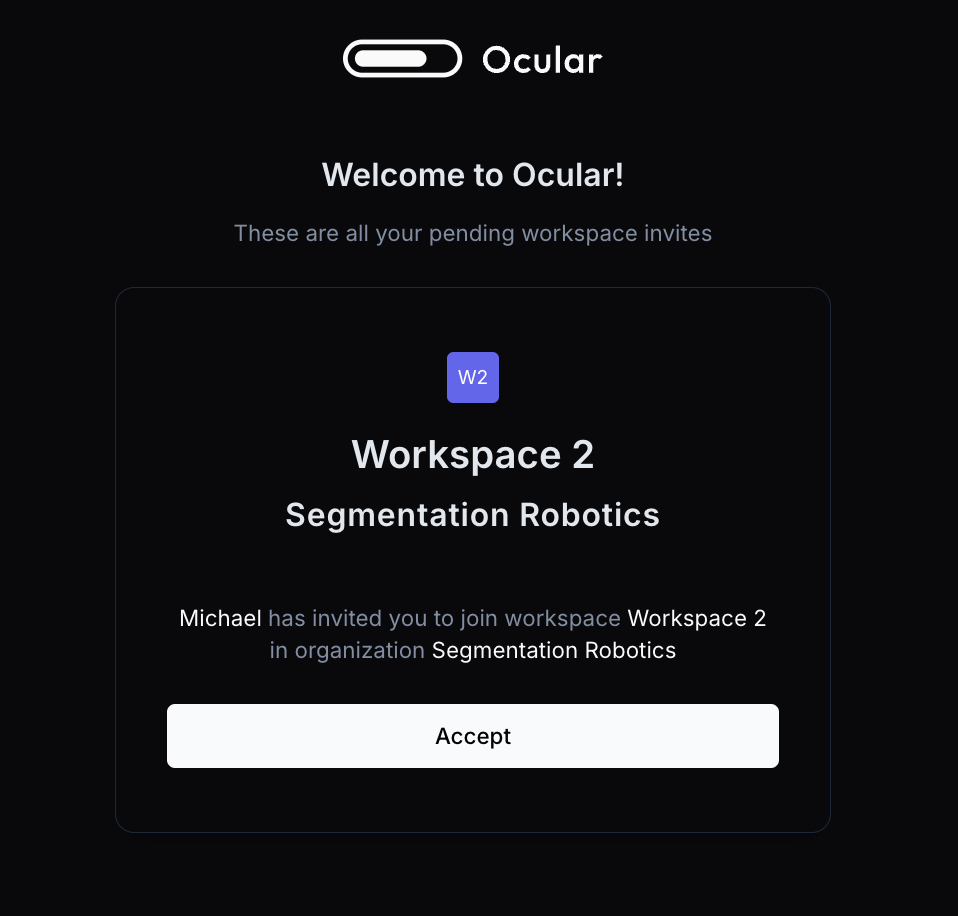
### Option 1: Accept an Invite
If you've received an invitation via email to join an existing organization, after creating an account you will see the invite. Accept the invitation to join the organization and specific workspace.
 ### Option 2: Create a New Organization
If you're starting fresh, you will be directed to create an organization after creating your profile.
1. Enter your organization details:
* Organization name
* Organization description
* Organization URL (coming soon!)
2. Then create your first workspace:
* Workspace name
* Workspace description (optional)
* Choose workspace plan tier
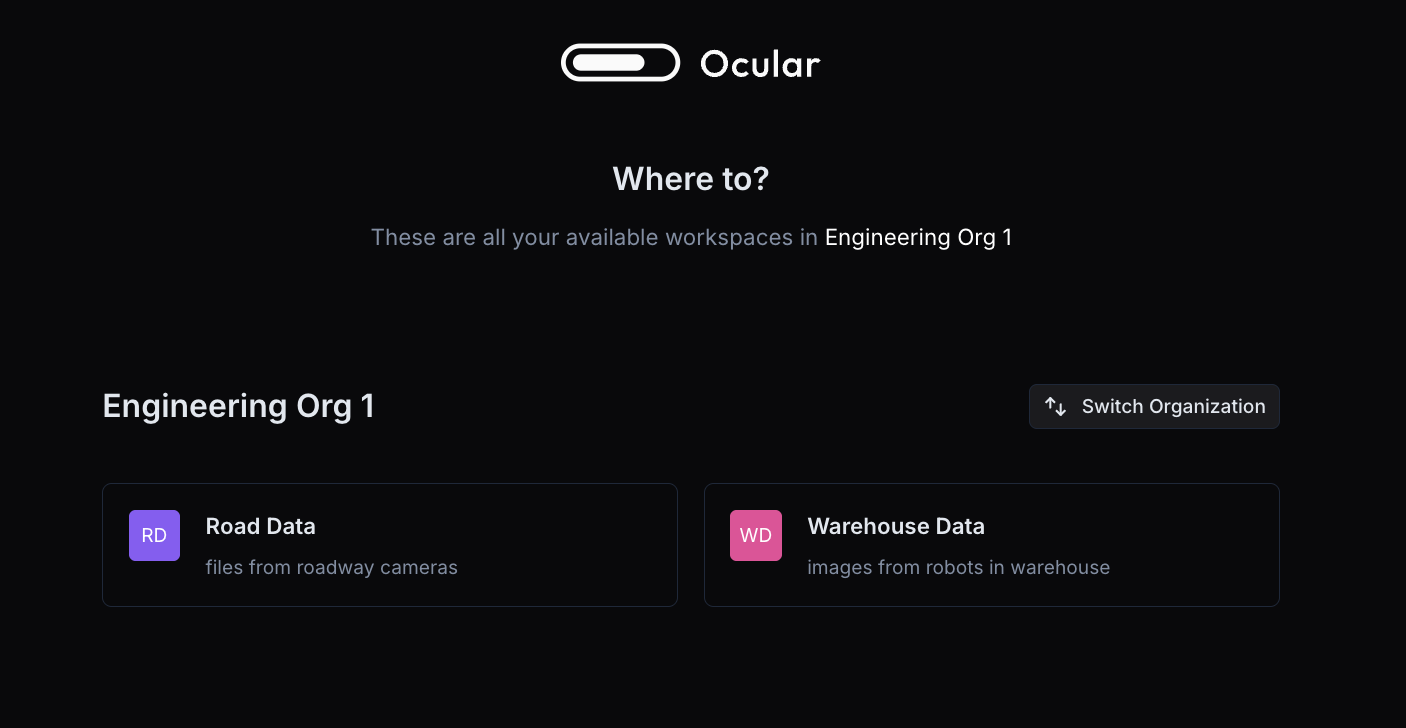
## Landing Page with Existing Account
If you already have an account, after signing in, you will see the following screen where you see an overview of the workspaces within a specific organization. You can change the organization, and then choose a workspace to enter.
### Option 2: Create a New Organization
If you're starting fresh, you will be directed to create an organization after creating your profile.
1. Enter your organization details:
* Organization name
* Organization description
* Organization URL (coming soon!)
2. Then create your first workspace:
* Workspace name
* Workspace description (optional)
* Choose workspace plan tier
## Landing Page with Existing Account
If you already have an account, after signing in, you will see the following screen where you see an overview of the workspaces within a specific organization. You can change the organization, and then choose a workspace to enter.
 ## Navigating Between Organizations and Workspaces
Within an workspace, if you wish to switch the current workspace or organization:
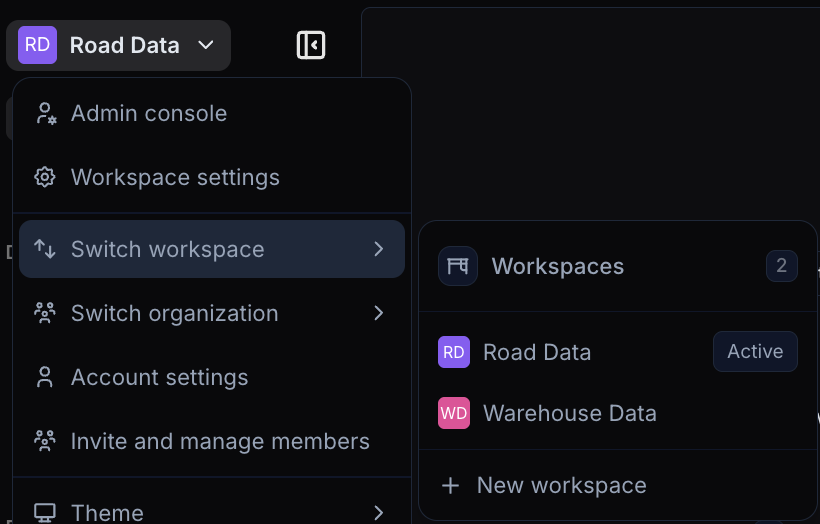
* You can switch between workspaces or organizations at any time using the left hover dropdown. Hover over the workspace name in the top left corner and the dropdown will appear.
* Hover over "Switch Workspace" to see workspaces available within the current organization; select a workspace to enter that workspace's main page
* Hover over "Switch Organization" to see all organizations that you are a part of. Clicking on an organization will direct you to the landing page, where you can choose a workspace within that new organization.
## Navigating Between Organizations and Workspaces
Within an workspace, if you wish to switch the current workspace or organization:
* You can switch between workspaces or organizations at any time using the left hover dropdown. Hover over the workspace name in the top left corner and the dropdown will appear.
* Hover over "Switch Workspace" to see workspaces available within the current organization; select a workspace to enter that workspace's main page
* Hover over "Switch Organization" to see all organizations that you are a part of. Clicking on an organization will direct you to the landing page, where you can choose a workspace within that new organization.